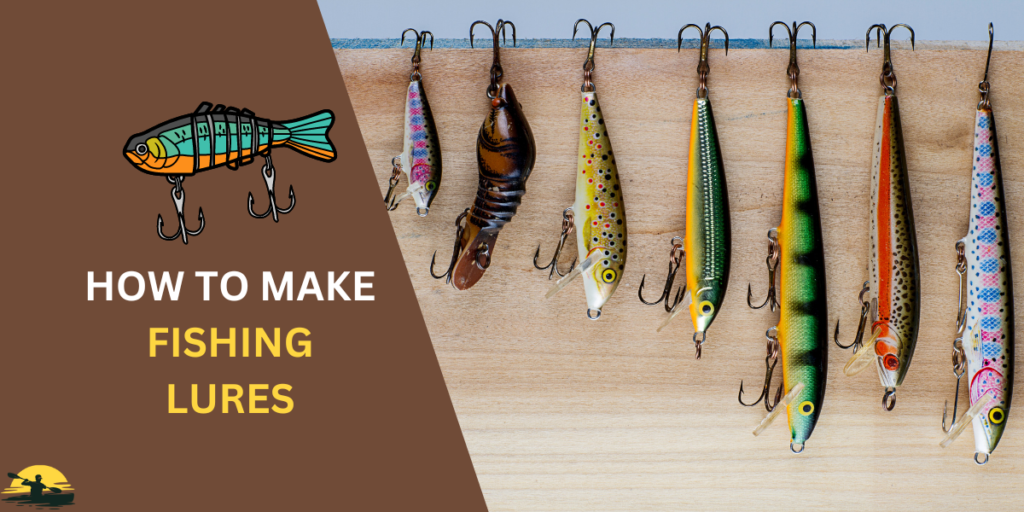
Tired of store-bought lures not catching fish?
Making your own is the answer! Whether it’s fly fishing, topwater, or deep-water lures, you’ll be able to customize them perfectly.
This guide covers it all: choosing materials like wood and hooks, attaching them with split rings and through wire, and even how many coats of paint to use.
Go from newbie to pro lure maker, and start catching more fish today!
Making Your Fishing Lures
- Why DIY?: Catch more fish with custom lures tailored to your needs and save money.
- Lure Basics: Different types (topwater, sinking) attract different fish.
- Tools & Materials: Basic tools, wooden blanks or balsa wood, hooks, glue, paint, and clear coat.
- Process: Shape the wood, add hardware (hooks, split rings, weights), paint, and seal.
- Advanced Techniques: Use specialty tools, add details (eyes, scales), and experiment with movement.
- Key Tips: Start simple, use templates, and don’t be afraid to try new things.
Fishing Lure Basics
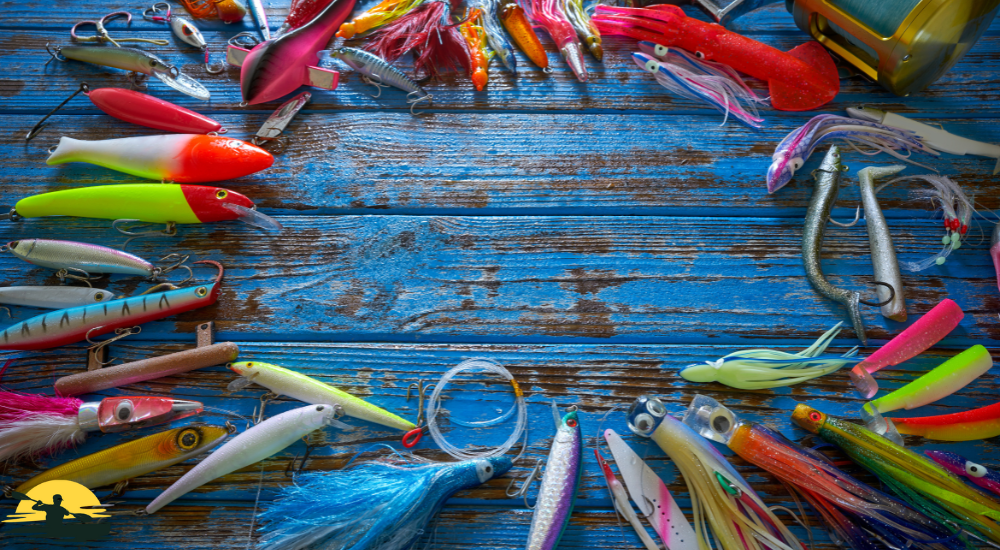
Let’s get down to the basics of lure fishing and why making your lures is a game-changer. Fishing lures are basically fake bait designed to trick fish into biting. There are tons of different kinds, from topwater lures that float on the surface to sinking lures that dive deep.
You can make them out of wood or other materials, and each type works best for different types of fish.
Why bother making your own? Well, store-bought lures are fine, but they are only sometimes perfect for the specific fish you’re trying to catch or the conditions you’re fishing in.
When you make your lures, you get to decide the size, color, shape, and how the lure moves in the water. This means you can make a lure that’s exactly right for the job, making it way more likely you’ll catch fish.
Plus, making your lures is a fun hobby! It’s satisfying to catch a fish on a homemade lure and know that you made it yourself.
Essential Tools and Materials
Now that you’re ready to dive into lure-making let’s gather your gear! You don’t need a fancy workshop or expensive tools to get started making your lures. Here’s what you’ll absolutely need:

- Basic Tools: Think pliers, wire cutters, sandpaper, and a ruler. You probably have most of these already!
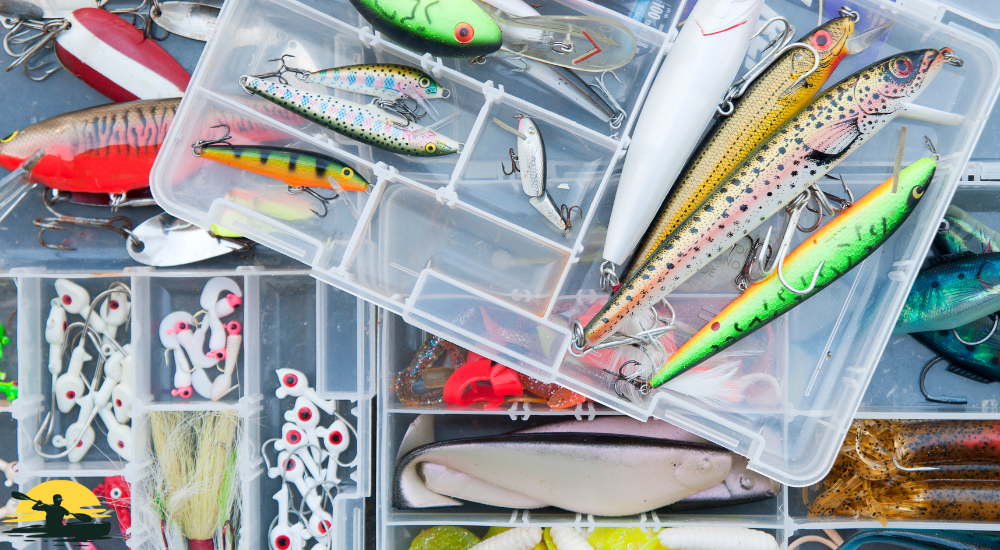
- Lure-Making Supplies: This is where the fun begins! You can buy wooden lure blanks, pre-shaped pieces of wood that are ready for you to customize into topwater lures or sinking lures. Or, if you’re feeling adventurous, you can grab a block of wood and carve your own from scratch. You’ll also need hooks, of course, like treble hooks for bigger fish or single hooks for smaller ones. You can find different types and sizes for different fish you might be ice fishing for.
- Extras: Don’t forget the little things! You can attach hooks using super glue or epoxy, paint to make your finished lures look awesome, and maybe some clear coat to protect the paint.
If you’re starting, you can buy kits that have everything you need to make a few lures.
One more thing – safety first! Always be careful when using sharp tools and wear eye protection.
Lure-Making Process
Alright, let’s get our hands dirty and start making some lures! Remember, there are tons of different ways to do this, but here’s the basic process for a simple wooden lure:
- Prep Your Wood: If you’re using a lure blank, you’re good to go. If you’re starting from scratch, trace your lure template onto a block of balsa wood (it’s light and easy to carve) and cut it out with a saw. Use fine-grit sandpaper to sand smooth any rough edges.
- Shape It Up: This is where you get to be creative! Use sandpaper or carving tools to shape your lure. Think about the kind of fish you want to catch and how you want the lure to move in the water. A topwater lure might be flat on top, while a lure for deeper water might be rounder.
- Add the Hardware: Drill holes for the line tie (where you’ll attach your fishing line) and for attaching hooks. Depending on the size of your lure and the type of fish you’re after, you might use a single hook or a treble hook. If you want your lure to sink faster, you can also drill a small hole in the belly and glue in a small split shot weight.
- Paint Time: Now for the fun part! Use spray paint or acrylic paints to give your finished lure some personality. You can copy patterns from real fish or make up your wild designs. Let the paint dry completely between coats.
- Seal the Deal: To protect your paint job and make your lure last longer, brush on a few coats of epoxy clear coat. This will give it a nice shine, too!
Remember, making your own lures isn’t just about catching fish – it’s about having fun and saving money on store-bought lures.
Advanced Lure-Making Techniques
Now that you’ve got the basics down let’s explore some next-level lure-making tricks! These aren’t essential for beginners making lures, but they can help you make even better, more effective wooden lures:
- Get Fancy with Tools: Some lure makers use specialty tools like Dremel rotary tools for detailed carving or wood-burning tools to add cool designs and scale patterns. You can even get fancy with your fine sandpaper and use different grits to create smooth transitions and details.
- Add Some Bling: Have you ever seen those lures with shiny eyes or flashy scales? You can add those yourself! There are special reflective tapes and paints you can use, or you can even glue on tiny beads or jewels.
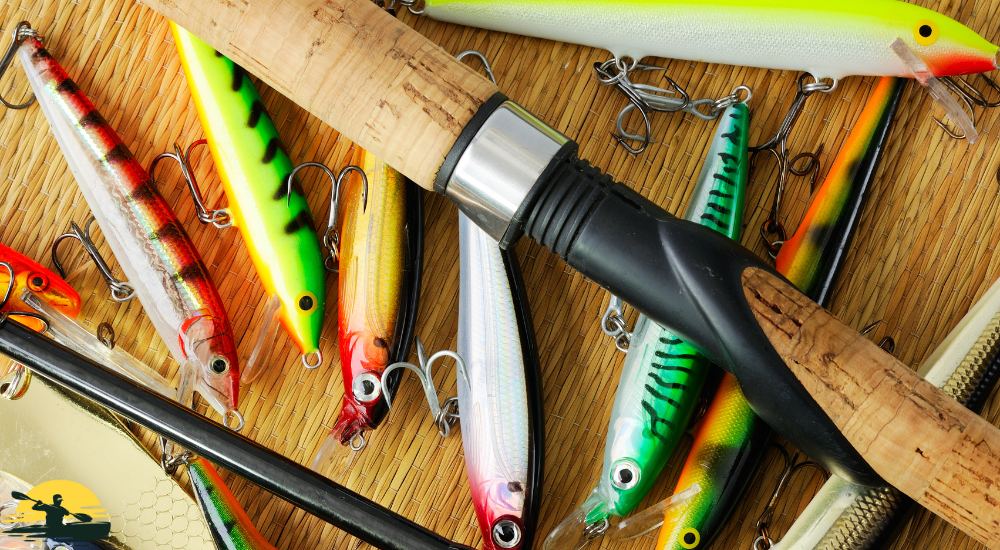
- Make ‘Em Move: Want your lure to dive deeper or wiggle in a certain way? You can add things like diving lips (little plastic pieces that make the lure dive) or weights inside the lure’s body. Some lure makers even carve special shapes into the wood to make the lure wobble or spin.
You don’t need power tools or a bunch of fancy gadgets to make great lures. You can do a lot with just basic tools and some creativity. But if you’re feeling adventurous, experimenting with new techniques can be a lot of fun – and it might just help you catch more fish!
Conclusion
Making your lures might seem a little tricky at first, but it’s a skill you can easily learn! You can start with simple designs and don’t worry if your first attempt could be better.
Just like anything else, the more you practice, the better you’ll get.
If you need clarification on something, there are tons of great ideas and tutorials online. You can find lure templates to trace, learn how to use tools like coping saws, and even get tips for making cool scale patterns with paint.
Remember, you don’t need a bunch of fancy stuff to get started. Grab some lure blanks or wood from the hardware store, some basic hand tools, some paint, and a little creativity, and you’re ready to go!
Frequently Asked Questions
Do you think I can make fishing lures without special tools?
Absolutely! You can start making great lures with just basic hand tools like pliers, a coping saw, and sandpaper. While specialty tools can be helpful for adding hook eyelets or creating detailed scale patterns, they’re optional for beginners.
What do you think is the best way to paint my lures?
Start with a white base coat on the belly to make other colors pop. Use spray paint or acrylic paints to create your design. You can use painting stencils for detailed patterns or even a large nail to create perfect spots. Could you let the first coat dry completely before adding a second top coat?
How do I attach the hooks to my lures?
You can attach hooks using split rings, which are small metal rings that open and close. Slide the split ring through the hook eyelet and the line tie (screw eyes) on your lure, then use pliers to close the ring. Make sure it’s closed tightly so the hook won’t come loose.
What kind of wood should I use for my lures?
Balsa wood is a popular choice for lure makers because it’s lightweight and easy to carve. You can also use other types of wood, like cedar or pine. If you’re not into carving, you can buy pre-shaped lure blanks made from balsa wood or hard plastic.
How do I make my lure sink or float?
To make a topwater lure that stays on the water’s surface, keep the body flat and avoid adding weight. For sinking lures, you can add weight by drilling a second hole with a drill bit and gluing in a small lead weight. You can also change the shape of the lure body to make it dive deeper.