Have you ever bumped your kayak on a rock and ended up with a hole?
It happens to the best of us.
Don’t panic!
Leaks can ruin your day on the water and make your kayak unsafe.
Patching a small hole in a plastic kayak is a breeze.
With a few tools, such as a heat gun, extra plastic, and some melted plastic, you can fix the hole, smooth out the edges, and have your kayak back on the water in no time.
- Know Your Boat: Is it plastic, fiberglass, or inflatable? Each material needs a different repair method.
- Damage Check: Determine whether the damage is a small hole, a gouge, or a big crack. This will tell you how complicated the fix will be.
- Get the Gear: For plastic kayaks, you need sandpaper, cleaning supplies, patching material, and a heat source. Fiberglass and inflatable kayaks have their own special repair kits.
- Patch Time: Follow specific instructions based on your kayak and the type of damage. Generally, you’ll clean, sand, apply a patch (with glue or melted plastic), then let it cure.
- Small Fix, Big Fix: Simple patches are DIY-friendly. If the damage is severe, get help from a pro!
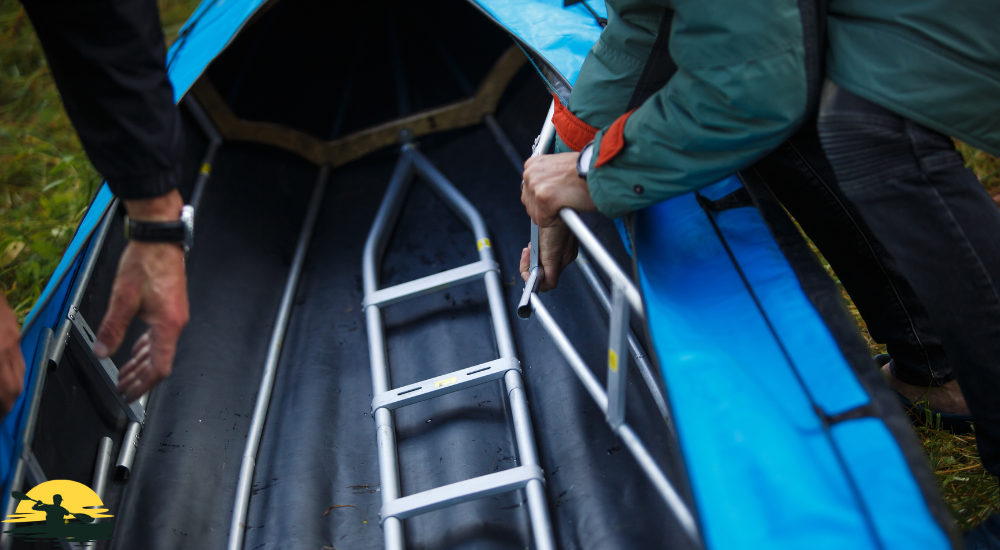
Identifying the Type of Kayak
Before you jump into fixing that hole, you need to figure out what your kayak is made of.
Why?
Because different materials need different repair techniques.
Here are the usual suspects:
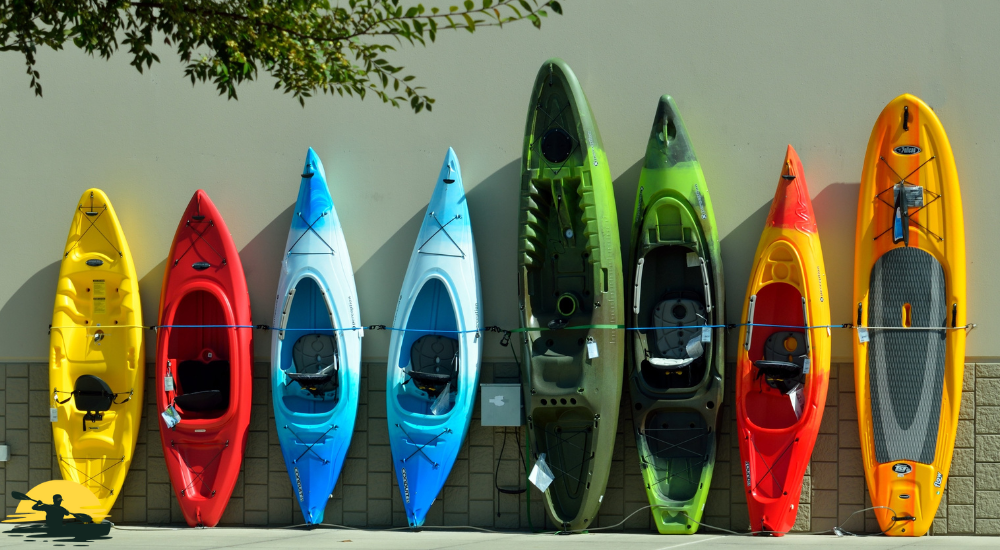
- Plastic (Polyethylene) Kayaks: These are the most popular kind. They’re tough, a bit flexible, and, luckily, pretty simple to patch up.
- Fiberglass Kayaks: These are sleeker and stiffer than plastic kayaks, but they need special materials (like epoxy) if they get damaged.
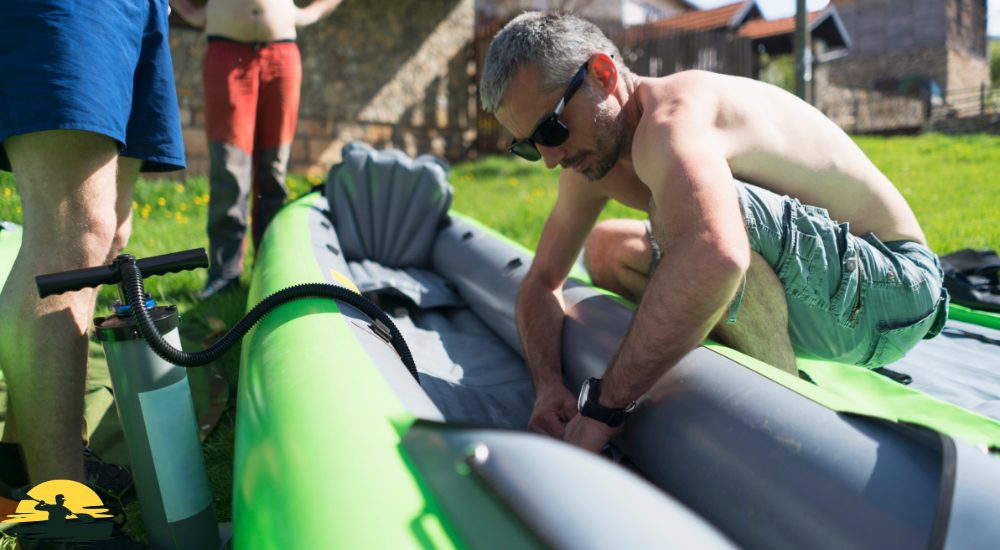
- Inflatable Kayaks: Think of these like giant pool toys! They’re made of strong fabric but can sometimes get tears or punctures. Inflatable kayaks have their special repair kits.
You can figure it out: Take a close look at your kayak.
Is it hard and shiny like a big toy?
That’s probably plastic.
Is it super smooth and rigid?
That might be fiberglass.
Does it deflate when you’re not using it?
Bingo – it’s inflatable.
Assessing the Damage
Okay, you know what your kayak’s made of; now it’s time to play detective.
The kind of damage you have will tell you how to fix it.
Let’s look at the most common problems:
- Small Holes: These are like pinpricks or little dents in the hull of your kayak.
- Gouges: These are deeper scratches or grooves. Think of them like when you scrape your knee.
- Cracks: These are the worst! Cracks can be tiny or long, and they can really ruin your day if they aren’t fixed properly.
Picking the Right Repair Method:
- Plastic Kayaks: Small holes and gouges can be fixed by melting plastic to fill them in. Think of it like welding but for your boat! For cracks, you’ll need a patch made from the same material as your kayak’s hull.
- Fiberglass Kayaks: These need special epoxy resin to glue them back together. It’s a bit trickier than fixing plastic, and sometimes it’s better to get a pro to help.
- Inflatable Kayaks: These usually come with patch kits. The process is kind of like putting a sticker on a tear.
A Few Extra Tips:
- Wear gloves! Whether you’re using heat to weld plastic or epoxy to fix fiberglass, you want to protect your hands.
- For plastic kayaks, if you can find a scrap piece of the same material as your kayak, that’s the best thing to use as your patch. Old, broken plastic buckets or bottles can sometimes work – make sure it’s the same type of plastic.
- Get the area around the damage as smooth as possible. Sanding the edges of the hole or crack will help the patch stick better and give you the best results
- If you’re using a heat gun or torch, be careful! Start with a low setting and use needle-nose pliers to hold things in place. Too much heat can damage your kayak more.
Tools and Materials
Before you become a kayak surgeon, you need the right gear!
The stuff you’ll need depends on what your kayak’s made of and how bad the damage is.
Plastic Kayak Repair Must-Haves:
- Sandpaper: Start with rough sandpaper (like 80 grit) and have some finer sandpaper (120 or 220 grit) to make things smooth at the end.
- Cleaning stuff: Dish soap and water works, or rubbing alcohol for greasy spots. A clean surface is key!
- Patching material: You can buy plastic welding rods, pre-made patches, or even use a scrap of the same kind of plastic.
- Heat source: A heat gun is safest, but a small propane torch works, too. Be super careful with an open flame!
- Spreader: An old butter knife or plastic putty knife helps spread the melted plastic.
- Marker: To outline the patch area.
Fiberglass Kayak Repair Kit:
- Sandpaper: Same as for plastic kayaks.
- Cleaning solution: Acetone or a special fiberglass cleaner works well.
- Epoxy resin: This is the special glue for fiberglass. Kits usually include both the resin and a hardener you mix.
- Fiberglass cloth: For bigger cracks and holes, this adds strength to the repair.
- Mixing cups and stirrers
- Gloves and respirator: Epoxy stuff can be stinky and bad for your skin!
Inflatable Kayak Repair Kit
- Patch kit: These usually come with the boat (hopefully!). If not, the manufacturer might sell one, or you can find generic ones online.
- Sandpaper
- Cleaning stuff
Handy Extras (For All Kayaks)
- Needle-nose pliers: These are used to hold hot plastic or help position patches.
- C-clamps: To hold patches in place while they cool or set.
- Small drill: Might be needed to stop a crack from spreading. Drilling a tiny hole at the very end of the crack can sometimes stop it from getting bigger.
Tips:
- Buying a pre-made plastic kayak repair kit is often the easiest and most inexpensive way to get started.
- Don’t want to buy stuff? Many kayaking shops will do minor repairs for a small fee. If you’re unsure, this can save you time and money.
- If you can’t find the same plastic for a patch, contact the manufacturer; they might be able to send you a scrap!
- Always keep a small repair kit in your kayak for quick fixes on the go. Duct tape can work in a pinch, but it’s not a long-term solution.
Patching a Plastic Kayak
Alright, it’s time to roll up your sleeves and get fixed!
For this section, we’ll focus on patching plastic kayaks since that’s what most folks have.
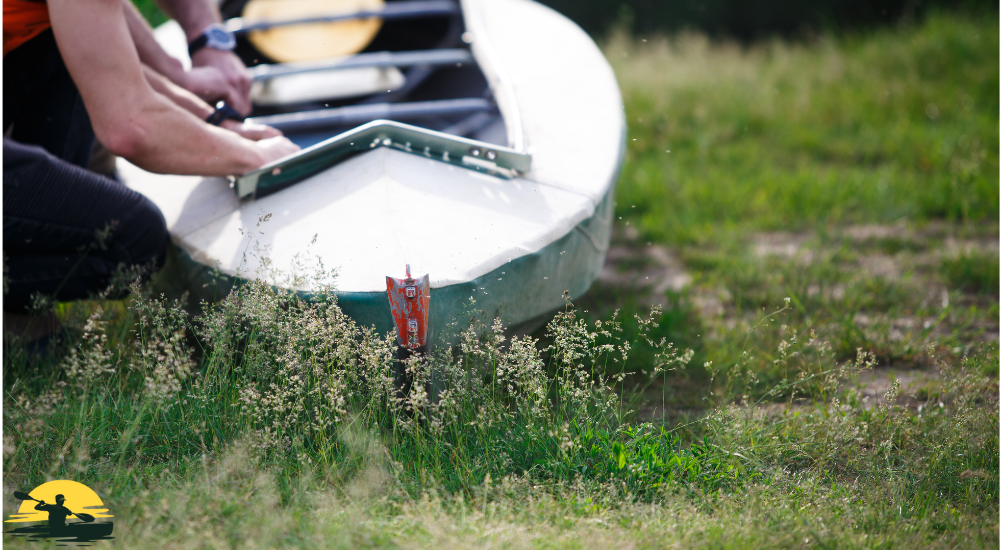
Preparation:
- Clean it Up: Wash the area around the damage with soapy water or rubbing alcohol. Could you let it dry completely? A patch will only stick if the surface is clean and dry.
- Sand it Down: Start with a rough sandpaper to smooth out rough edges, then switch to a finer grit to make the surface a little rough, which helps the patch stick better.
- Outline the Patch: If you’re using a pre-made patch, trace around it. If you’re making your ould you cut it slightly bigger than the damaged area?patch, c
Small Holes and Gouges
- Melt Some Plastic: Use your heat gun or torch to carefully melt either a plastic welding rod or a piece of scrap plastic that’s the same type as your kayak.
- Drip and Spread: Drip the melted plastic into the hole or gouge, using your spreader tool to fill it in. Can you build it up higher than the surrounding surface?
- Let it Cool: Put down your tools and let things harden up!
- Smooth it Out: Now grab your sandpaper and gently sand the patch until it’s flush with the rest of your kayak.
Bigger Cracks and Tears
- Patch Time: Cut your patch to shape, making sure it covers the damage with some extra room around the edges.
- Add Backing (Optional): For really big cracks, put a piece of fiberglass cloth or scrap plastic behind the crack to add support to your patch.
- Melt and Blend: Carefully melt the edges of your patch with your heat gun, blending it into the surrounding plastic. You can use your spreader to help create a smooth seal.
- More Melting (if needed): If you used a backing material, apply melted plastic over it to fully bind it to the kayak.
- Sand and Finish: Once everything’s cool, sand down the patch until it’s smooth and level with the rest of the kayak hull.
Tips and Tricks
- Practice First: If you’ve never melted plastic, try on a scrap piece before repairing your kayak. It’ll help you get the feel for your heat tool.
- Don’t Rush: Take your time, and work in small sections if the damage is big.
- Watch Videos: There are tons of great videos online showing plastic kayak repair in detail! Some are better than others, so feel free to ask for recommendations in the comments if you want some suggestions.
- Finger Power: For final smoothing, try using your finger (wear a glove!) to gently press warm, melted plastic down. Be careful not to burn yourself!
Patching a Fiberglass Kayak
Fixing a fiberglass kayak is a bit more involved than plastic, but it’s still absolutely doable!
If the damage is really bad, it might be smarter to take it to a pro, but for small to medium cracks and holes, here’s what you need to do:
Preparation
- Clean and Sand: Clean the area with acetone or a special fiberglass cleaner. Sand it down well, creating a smooth, beveled edge around the damage (this gives the epoxy more surface to grip).
- Cut Fiberglass: Cut fiberglass cloth to fit the patch area, leaving extra room around the edges.
Applying the Epoxy
- Mix it Up: Follow the instructions on your epoxy resin kit. You’ll usually mix two parts – the resin and a hardener. Work in a well-ventilated area and wear gloves and a respirator!
- Wet the Cloth: Brush some epoxy onto the damaged area and lay your fiberglass patch on top. Thoroughly soak the fiberglass cloth with more epoxy.
- Smooth it Out: Use a brush or spreader tool to remove any air bubbles and create a smooth finish. You want the fiberglass to be fully saturated with epoxy.
- Repeat (if needed): For deeper damage, you might need to apply multiple layers of fiberglass and epoxy.
- Curing Time: This is important! Could you let the epoxy cure completely according to the instructions on your kit?
- Final Sanding: Once it’s rock-hard, sand down the patch to make it smooth and level with the rest of your kayak.
Tips:
- Fiberglass repairs often look messy while you’re working, but don’t worry; they’ll look much better after you sand them down!
- You can add a final coat of epoxy over the entire patch area for extra strength and to give it a glossy finish.
- Color-matched epoxy kits are available, but even clear epoxy will blend in well after sanding (and your kayak gets a few more scratches from regular use)
- Fiberglass repairs can be done on both the inside and outside of your kayak. Often, it’s easiest to patch both sides for maximum strength.
Not Feeling Confident?
If all this sounds too complicated, or you need the right supplies, there’s no shame in calling in the experts.
Kayak repair shops are familiar with fiberglass work and can make your boat look almost new again.
Additional Resources:
- Just like for plastic kayaks, there are tons of videos online showing fiberglass repair. Since quality varies, let me know if you’d like some reliable recommendations.
- For more detailed instructions, check out sites dedicated to boat repair. A quick search for “fiberglass boat repair how-to” should turn up lots of helpful content
Patching an Inflatable Kayak
Inflatable kayaks are usually the easiest to fix! Most come with patch kits, or you can buy them separately.
What’s in the Kit
- Patches: Specially made for your kayak’s material.
- Adhesive: This is the glue that sticks the patch on.
- Sandpaper: This is used to rough up the area around the puncture.
How to Patch
- Find the Leak: Inflate your kayak and use soapy water to look for bubbles.
- Deflate and Dry: Let some air out and dry the area around the leak.
- Sand and Glue: Lightly sand the area, then follow the instructions on your patch kit to apply the glue and the patch.
- Wait: Let the glue cure completely before re-inflating. Could you check the kit for specific drying times?
Tips
- Clean is key: A clean surface helps your patch stick better.
- Round the corners: Cut your patch with rounded corners to prevent peeling.
- Keep spares: Stash a few patches in your kayak for emergency repairs.
Bigger Problems?
If the tear is too big for a simple patch, you might need a professional repair with special tools and materials.
Conclusion

See? Patching your kayak is more scary than it might seem!
With a few tools, the right instructions, and a bit of practice, you can fix most small holes, gouges, and even cracks yourself.
Taking care of minor repairs keeps your kayak safe and helps it last for years of adventures.
Remember these key points:
- Figure out what your kayak is made of – that tells you what kind of repair you need to do.
- Start with simple repairs, and don’t be afraid to ask for help at a kayak shop if you get stuck.
- Keep a small repair kit in your kayak for quick fixes on the water.
Frequently Asked Questions
Can I use duct tape to patch my kayak?
Duct tape is only a temporary fix. It might get you back to shore in an emergency, but it won’t be a long-term solution. For a lasting repair, you can use a proper patch kit.
Is it better to repair a kayak from the inside or outside?
This depends on the type of damage and your kayak’s material. An outside patch usually works great for small holes. Larger cracks or tears often need patching from both sides for maximum strength.
Do I need special tools to patch my kayak?
It depends on the type of patch and your kayak’s material. Plastic kayaks sometimes only need a heat source and scrap plastic, while fiberglass and inflatables require specialized kits.
Can I fix a crack in my kayak that goes all the way through?
Yes, but it’s a bit more involved and might require extra reinforcement materials. If you need more confidence in fixing this kind of damage, seek advice from a kayak repair shop.
How long does it take for a kayak patch to cure?
This depends on the type of patch and the materials used. Patch kits usually have specific instructions. Always let the patch cure completely before putting your kayak back in the water.