Imagine this: You’re out on the water, ready to cast your line, but your fishing line is a tangled mess. Or worse, it keeps twisting and causing backlashes. Frustrating, right?
That’s where learning to spool your fishing reel properly comes in.
Whether you’re using a spinning reel, filling it with a monofilament line, fluorocarbon line, or braided line, the way you spool your reel affects everything from casting distance to preventing those annoying tangles and backlashes.
This step-by-step guide will show you how to spool your fishing reel the right way.
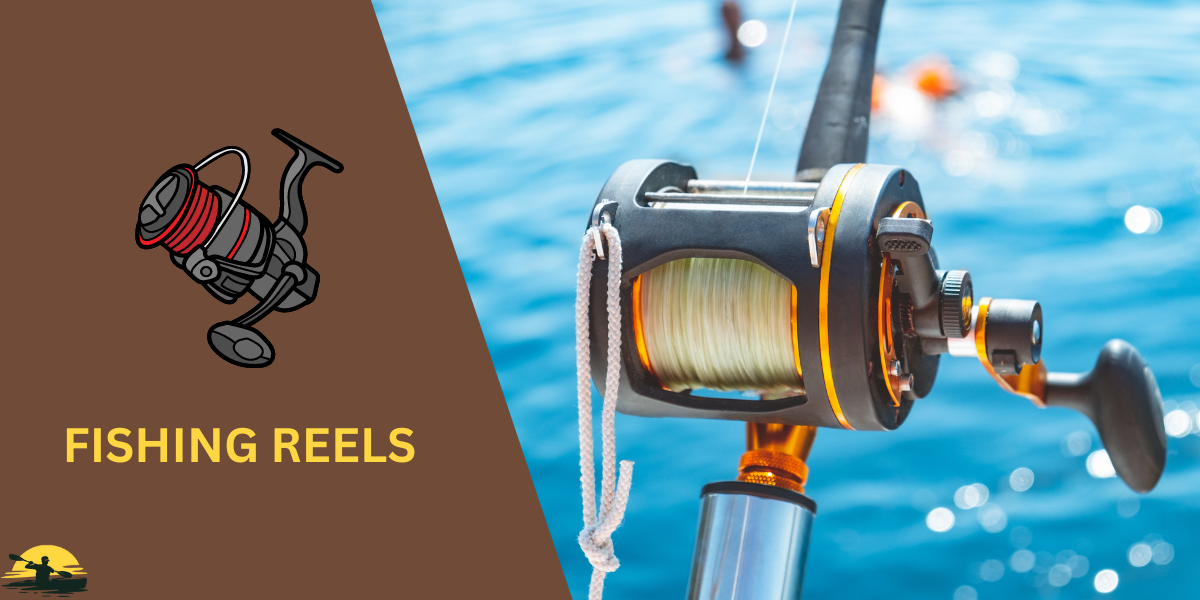
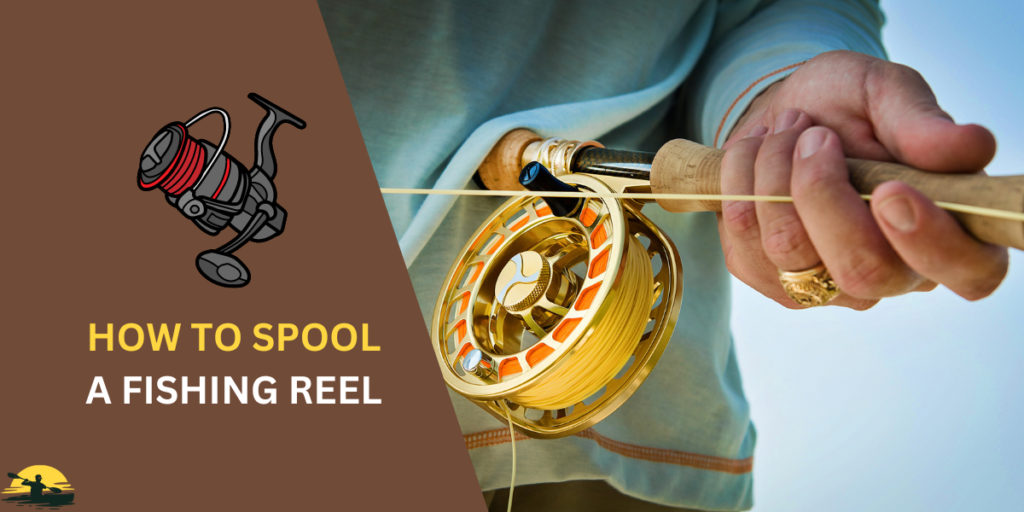
How to Spool a Fishing Reel
- Gather your tools: Fishing rod, reel, line, scissors/clippers.
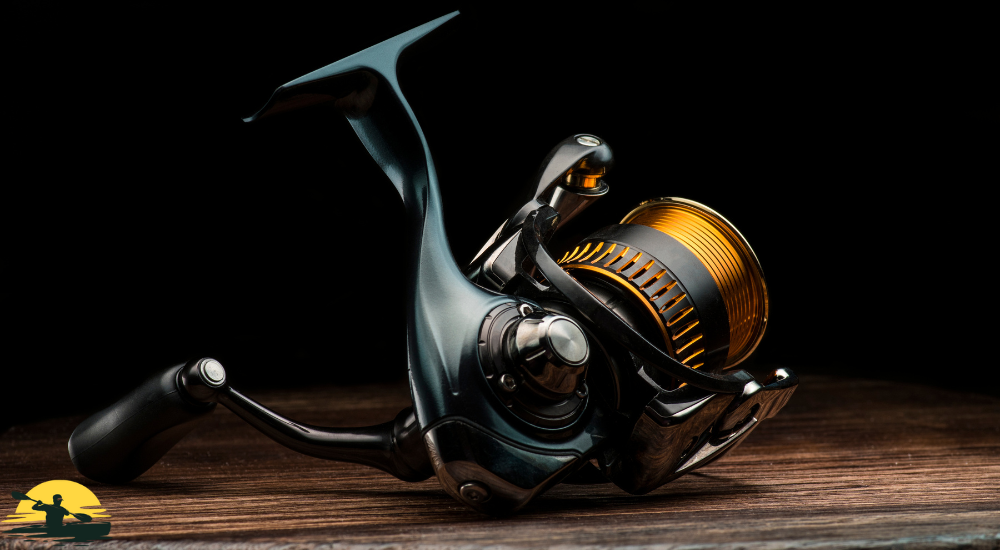
- Check line capacity: Look on your reel spool to see how much line it holds.
- Tie an arbor knot: Secure the line to the spool.
- Open the bail (spinning reels only): This allows for smoother line loading.
- Thread the line: Pass it through the rod guides, starting from the reel.
- Maintain tension: Use a helper or a tool to keep the line taut as you reel.
- Fill the spool: Leave a small gap (1/8 inch) between the line and the spool edge.
- Trim excess line: Cut close to the spool and smooth any rough edges.
- Check your work: Tug at the line to ensure it’s secure.
Tools and Materials
Before we get started, let’s gather our tools and figure out how many lines we need. You’ll need:

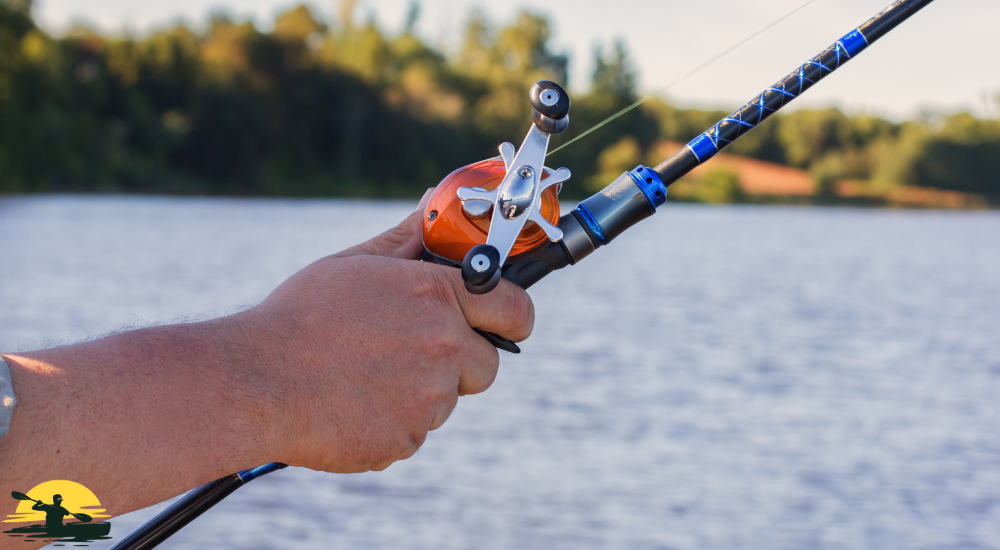
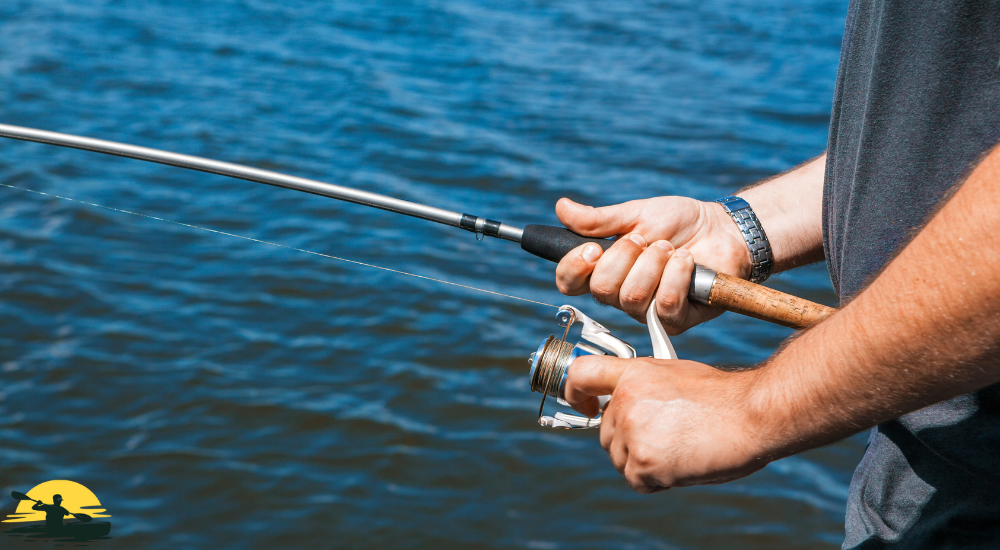
- Your fishing rod and reel: It doesn’t matter if it’s a spinning reel or a baitcasting reel. The steps are pretty similar for both.
- Fishing line: This is where things can get a little tricky. There are different types of lines – monofilament, fluorocarbon, and braided. Each has its benefits and drawbacks. For now, pick the one you like best, or that matches the type of fishing you’ll be doing.
- Scissors or clippers: We need something sharp to cut the line.
How Much Line Do I Need?
Could you check your reel’s spool? It should say something like “line capacity” followed by a few numbers and letters. This tells you how much line your reel can hold.
Here’s a quick tip: If your line has “memory” (it tends to coil up and hold its shape), you’ll need to fill the spool a little less than its capacity. Braided line has very little memory, while fluorocarbon and monofilament have more.
If you need to figure out how many lines to use, don’t worry! It’s better to have a little extra than to run out in the middle of spooling. We can always trim the excess later.
Step-by-Step Guide
Alright, now that we’ve got our gear and line, let’s tie it onto the reel spool. This is where we start to prevent those annoying line twists that can ruin a good fishing trip.
- Open the Bail: If you’re using a spinning reel, flip the little metal arm (called the bail) up. This will open the spinning reel’s spool and allow the line to go on smoothly. If you’re using a baitcasting reel, you can skip this step.
- Thread the Line: Pass the tag end (the end of the line) through the guides on your fishing rod. Start from the one closest to the reel and work your way up. You’d be surprised how many people start at the wrong end!
- Tie an Arbor Knot: This knot is our best friend for attaching the line to the spool. It’s simple and keeps the line from slipping.
- Wrap the tag end around the spool a few times.
- Pass the tag end through the loop you just created.
- Tie an overhand knot with the tag end around the main line.
- Wet the knot to make it easier to tighten.
- Pull the tag end and the main line in opposite directions to tighten the knot against the spool.
Now you’ve got your line securely attached to the reel spool, and you’re ready to start filling it up!
Troubleshooting Common Problems
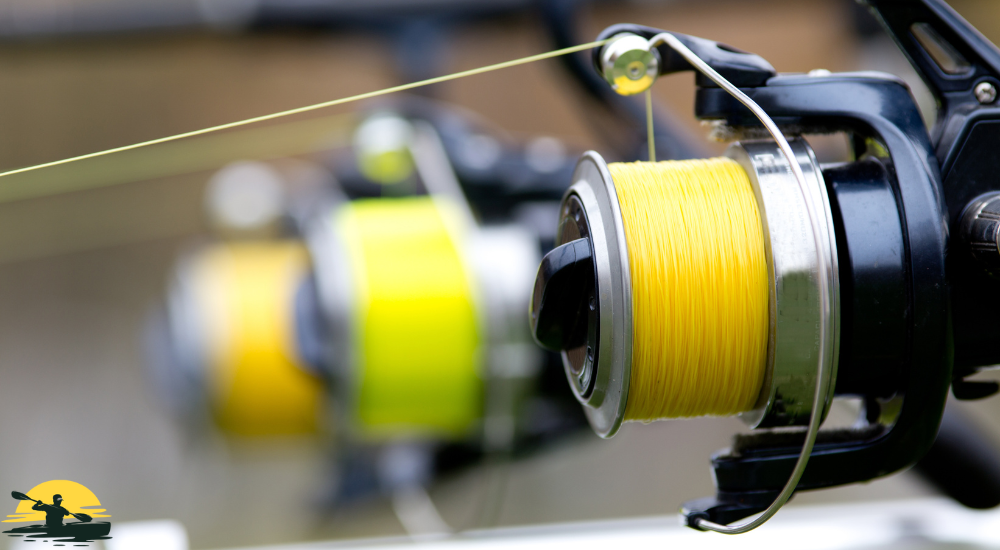
Alright, let’s get that line onto your reel spool! This part is all about keeping things smooth and avoiding twists.
- Find a Helper (Optional): If you have a friend around, ask them to help. Have them hold the line spool so it can unwind freely while you turn the reel handle. If you’re flying solo, no worries! Just place the line spool on a flat surface like a table or the ground. Make sure it can spin easily.
- Check Line Direction: For spinning reels, the line should be coming off the spool in the same direction that the reel handle turns. This is usually counter-clockwise. For baitcasting reels, it should be the opposite. This helps prevent line twist later on.
- Keep It Tight: If you have a helper, they can apply a little tension to the line as you reel it in. If you’re on your own, you can use a pencil or pen to create some tension by threading the line under the eraser and holding it in place while you crank the reel handle.
- Watch for Twists: As you reel, keep an eye on the line. If you see it starting to twist or coil, stop and let it unwind a bit before continuing. You can also try flipping the spool over if it’s coming off in the wrong direction.
- Fill ‘Er Up. Keep reeling until you’ve almost filled the spool. You want to leave a little space – about 1/8 of an inch – between the top of the line and the edge of the spool. This helps prevent the line from spilling over and causing tangles.
Bonus Tip: If your line spool doesn’t have a built-in way to stop it from unwinding too fast, you can use a little piece of electrical tape to secure the end of the line to the spool. This will help keep things from getting out of control.
Tips for Specific Fishing Styles
Great job! You’re almost done spooling your fishing reel. Just a few more things to wrap up:
- Trim the Excess: Once you’ve left a small gap (about 1/8 inch) between the line and the edge of the spool, it’s time to cut the line. If you used tape to hold the line in place, could you remove it now? Then, could you carefully cut the line as close to the spool as you can? This will help prevent the line from getting caught or tangled when you cast.
- Check Your Work: Give your line a gentle tug to make sure it’s secure. If it feels loose, you can always add a small piece of tape to the end of the line on the spool.
Pro Tips:
- Line Twist: If you’re using fluorocarbon lines, pay extra attention to preventing line twists. These lines have more memory and are more prone to twisting than other types. Make sure the line is coming off the spool in the correct direction (counterclockwise for spinning reels).
- Adding More Line: If you run out of line before your spool is full, don’t worry! Just tie a new piece of line to the tag end of the existing line using a strong knot (like a double uni or FG knot). Then, continue spooling as usual.
- Best Line for Beginners: If you’re new to fishing, I recommend using a monofilament line. It’s easier to work with than fluorocarbon or braided lines, and it’s less likely to twist.
- Line Capacity: Remember to check your reel’s line capacity before you start. This will tell you how many yards of line you need to fill the spool.
And that’s it! You’ve successfully spooled your fishing reel. Now, you’re ready to tie on your favorite lure and start catching some fish!
Conclusion
Congratulations! You’ve successfully learned how to spool a spinning reel like a pro. It might seem like a small thing, but trust me, spooling your reel the right way can make a big difference in your fishing experience.
Remember, a well-spooled reel means less line twists, fewer tangles, and smoother casts. Plus, you’ll be able to cast farther and reel in your line more easily. All of that adds up to more time fishing and less time dealing with frustrating line issues.
So, next time you’re getting ready for a fishing trip, take a few minutes to spool your reel correctly.
Follow these step-by-step instructions and pay attention to the direction in which your line is coming off the spool. This will help prevent line twists, especially if you’re using fluorocarbon lines.
You’ll be glad you did! Now, grab your fishing pole, head out to your favorite fishing spot, and cast away with confidence!
Frequently Asked Questions
Can I spool a spinning reel without a spooling tool?
Absolutely! You can have a friend hold the line taut or place the line spool on the floor with a fixed object on top to create tension. This will help prevent line twists as you retrieve the line onto your spinning reel.
What direction should the fishing line come off the spool?
For spinning reels, the line should come off the spool in a counter-clockwise direction, matching the direction you turn the reel handle. This will help prevent line twists as you retrieve line. Line memory needs to be good.
How much line should I put on my spinning reel?
Check your reel’s line capacity, which is usually printed on the spool. Fill the spool almost to the top, leaving a small gap (about 1/8 inch) to prevent the line from spilling over. If your line has memory, like fluorocarbon lines, fill it a bit less.
What type of line is best for a beginner?
The Monofilament line is a great option for beginners. It’s easier to work with than fluorocarbon or braided lines, and it’s less prone to line twist.
What is the best way to prevent line twists on a spinning rod?
Make sure your line comes off the spool in the correct direction (counter-clockwise), and keep it taut while spooling. If you see twists forming, stop and let the line unwind before continuing. You can also flip the spool over if it’s coming off in the wrong direction.