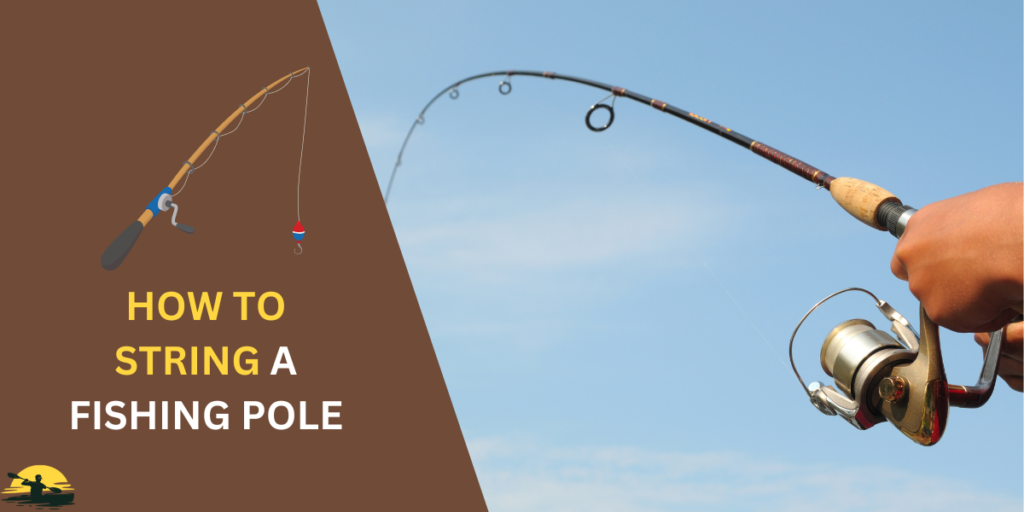
Have you ever wanted to go fishing but felt unsure about the first step? Getting your fishing line onto your rod and reel can seem confusing, especially with terms like “line rating” and “tag end.”
Don’t worry! Lining your fishing pole is easier than you think. With some basic steps and the right tools, you’ll be ready to cast in no time.
We’ll cover everything from picking the right line to tying a strong knot that will keep your catch from getting away. Let’s get started!
How to String a Fishing Pole
- Gather your gear: Fishing rod, reel, line that matches the fish you’re after, and scissors or clippers.
- Prep the reel: Open the bail, thread the line through the guides, and onto the spool.
- Fill the spool: Wind the line evenly, leaving a little space at the top.
- Tie a knot: Secure the line to the spool with a strong knot like the Arbor Knot.
- Thread the guides: Close the bail and thread the line through the guides, starting at the tip-top.
- Attach your tackle: Tie on your hook, and add a sinker and/or bobber if needed.
- Get fishing!
Gathering Your Tools and Materials
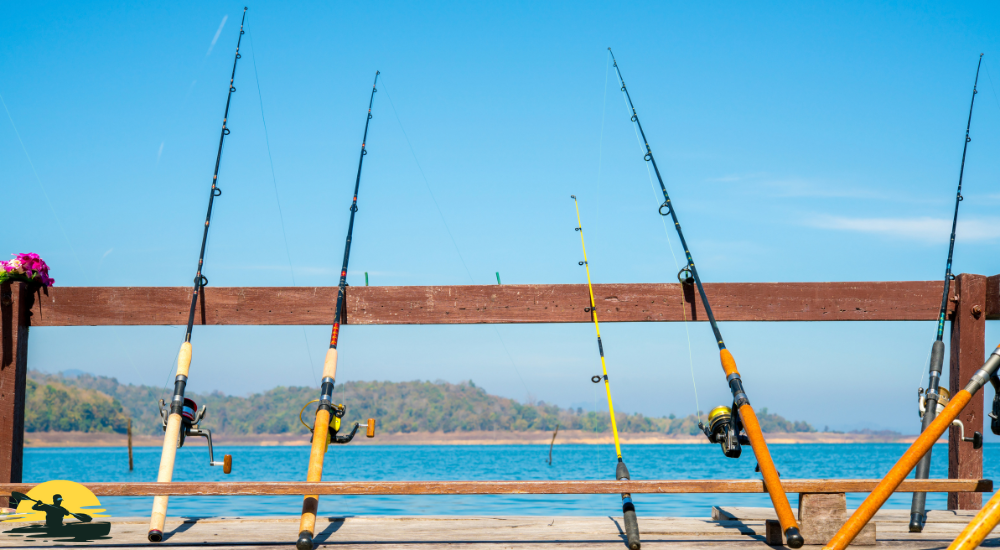
Before you even think about touching your fishing line, you have to gather some stuff. Don’t worry; it’s a simple shopping list. Here’s what you absolutely need:
- Your fishing rod and reel: This is your main setup—think of it as the bat and glove of fishing.
- Fishing line: This is what connects your rod to the hook (and, hopefully, to a fish!). You’ll want a fishing line that matches the kind of fish you’re going after. Bigger fish need a stronger line.
- Scissors or clippers: These are for cutting the line. Regular scissors work, but special line clippers are even better.
That’s it for the basics! Now, let’s get started.
Setting Up Your Fishing Reel
Now that you’ve got your stuff, it’s time to prep your fishing reel and pole. It might seem tricky, but follow these steps:
- Lay your fishing pole down: Place your fishing pole on the ground or a flat surface so it’s easy to work with.
- Open the bail: This is that little wire thingy that flips open on your reel. Opening it lets the line move freely.
- Thread the line: Take the end of your fishing line (the tag end) and pass it through each of the fishing pole string guides. These are the little rings on your pole that help keep the line in place.
- Find the spool: This is the part of the reel that holds the fishing line. Look for a little hole in the center of the spool.
- Thread through the spool: Pass the line through the hole in the spool and then wind it around a few times. You want to make sure the line is going around in the same direction as the spool will turn when you reel it in.
Now, your fishing reel and pole are prepped and ready for the actual stringing process. Almost there!
Stringing the Line
Alright, let’s get that line onto your reel! This is where the magic happens. Follow these simple steps:
Hold the line: Pinch the end of the line (the tag end) between your thumb and finger. You want to keep some tension on the line for wind it onto the spool.
Start reeling: Turn the handle on your reel for start winding the line onto the spool. Go slow at first, so you don’t get any tangles.
Please keep it even: As you reel, you can use your other hand to guide the line onto the spool. You want to make sure the line moves evenly without bunching up in one spot.
Could you fill it up? Please keep reeling until the line is almost to the top of the spool. Don’t overfill it, or you might need help casting. Leave a little bit of space at the top, about the width of your fingernail.
Cut the line: When the spool is full enough, use your scissors or clippers to cut the line.
Tie it off: Now, it’s time to tie a knot to secure the line to the spool. This is important so your line stays put when you’re fighting a big fish! We’ll cover some easy knots in the next section.
Tying the Knot
Okay, you’ve got your line onto the reel spool, but how do you keep it there?
With a strong knot, of course! Tying the line onto the center of the spool is super important, so your line doesn’t come loose when you’re fighting a big fish! Here’s a simple one to get you started: the Arbor Knot.
First, wrap the tag end (the loose end of your fishing line) around the spool of your reel, making a loop. Leave about 6-12 inches of line extending from the loop.
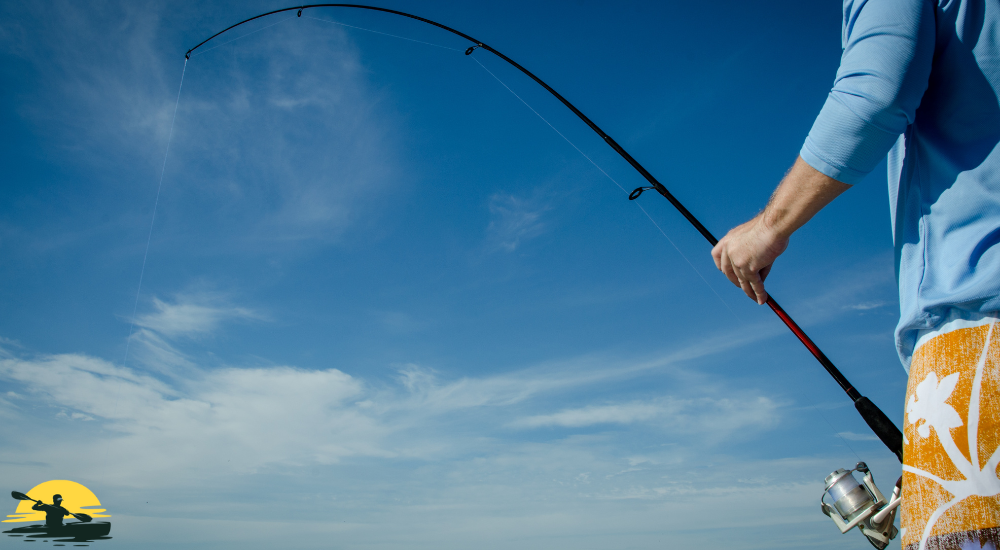
Next, take the tag end and pass it over. Then, under the loop you just made, pull it through to form a simple overhand knot. Now, could you tie another overhand knot with the tag end about an inch or two away from the first knot?
Hold the loop and the main line (the part of the line that’s on the spool) and pull them in opposite directions. This will tighten both knots and cinch them down against the spool. Last step: Use your scissors or clippers to cut off the extra tag at the end of the line. Boom!
You just tied a strong knot that will hold your line securely, so you’re ready to get that fishing pole strung and hit the water!
Threading the Line Through the Guides
Alright, your line is secure on the reel spool – nice work!
Now, let’s get it onto your fishing pole or string it so that your pole has a fishing line! This part is a simple process, but it’s important to do it right so your line doesn’t get tangled or twisted.
Close the bail: Flip the bail (that little wire thingy) back into its closed position. This will make sure your line doesn’t come flying off when you cast.
Thread the tip-top: Start by threading the end of your line through the very tip of your fishing pole. This is called the tip-top guide.
Thread the guides: Work your way down the pole, threading the line through each guide. You’ll see they get bigger as you go down the pole. This helps keep the line in place and prevents it from getting tangled.
Stop before the reel: Keep threading the line through the guides until you get to the last one before the reel. Please leave a few feet of line extending from the previous guide.
You’ve officially strung your fishing pole! But before you cast out, we need to attach the correct tackle to make sure you’re ready to catch some fish with your spinning rod and reel.
Attaching Your Tackle
Congrats! Your fishing pole has a fishing line and is almost ready for action. Now comes the fun part: adding the correct tackle that’ll actually help you catch fish.
Hook
- Pick the right hook: The size of your hook depends on what kind of fish you’re going after. Ask a fishing pro at a local store to help you pick the right size.
- Tie it on. There are lots of ways to tie the line onto the hook, but a strong knot Improved Clinch knot or like the Palomar knot will work great. (We’ll show you how in a future blog post!)
Sinker
- Do you need one? Sinkers help your bait get down to where the fish are. If you’re fishing in deep water or for bottom-dwelling fish, you’ll probably want one.
- Choose the right type: There are different kinds of sinkers for various situations. Again, a fishing pro can help you out.
- Slide it on. Most sinkers slide onto your line. Some have a little clip to hold them in place.
Bobber
- What’s a bobber? A bobber floats on the surface and helps you see when a fish is nibbling at your bait.
- Do you need one? Bobbers are great for fishing near the surface. If you’re fishing deeper, you might not need one.
- Attach it: Most bobbers have a little clip or spring that you use to attach them to your line.
With your hook, sinker, and bobber in place, you’re all set to go fishing! Remember, practice makes perfect, so keep going if you need to catch something right away. Just keep trying with your newly strung fishing pole, and soon, you’ll be reeling in the big ones!
Conclusion
And there you have it! You’ve just learned how to line a fishing pole step by step. It might seem like a lot to remember at first but trust me, it gets easier with practice.
Before you know it, you’ll be stringing up your fishing pole like a pro. Now, grab your tackle box and get out there – those fish are waiting!
Frequently Asked Questions
What’s the easiest way to tie a fishing line to a hook?
For beginners, the Improved Clinch Knot is a great choice. It’s easy to learn, strong, and works well with most types of fishing lines. There are tons of tutorials online that show you how to tie it step by step.
How much fishing line should I put on my reel?
This depends on the type of fishing you’re doing and the size of your reel. A good rule of thumb is to fill the spool until the line is about 1/8 inch from the top. This will help prevent tangles and make casting easier.
Do I really need to use a bobber?
Only sometimes! Bobbers are helpful for fishing near the surface, as they show you when a fish is nibbling your bait. But if you’re fishing deeper or using lures, you might not need one.
Do you know if I can use any fishing line?
Different lines have different strengths and characteristics. It’s important to choose a line that’s right for the type of fish you’re trying to catch. Could you ask a fishing pro at your local tackle shop for advice?
What’s the best knot for tying a line to a swivel?
The Palomar knot is a famous choice for tying a line to a swivel. It’s strong, reliable, and easy to tie, even with wet hands. A step by step instructions are very important for string a fishing pole.


