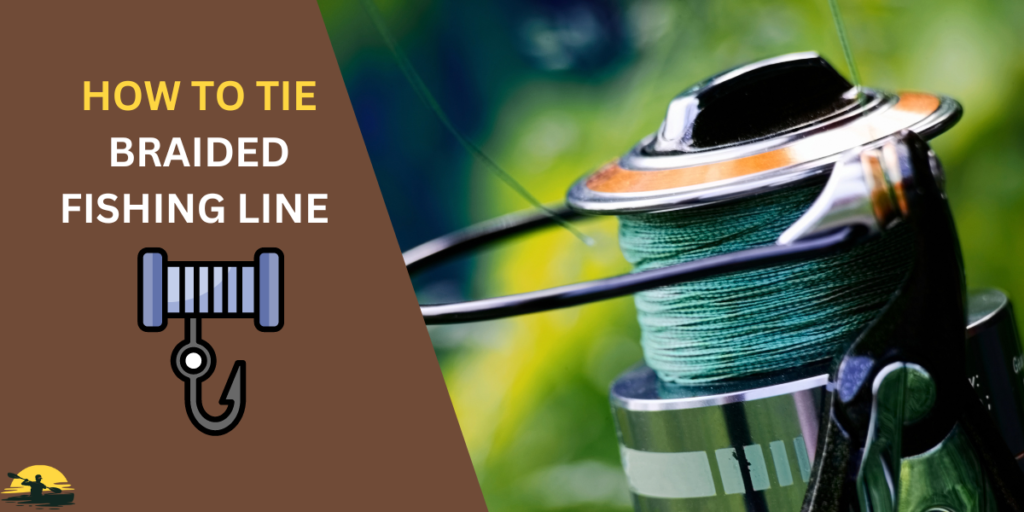
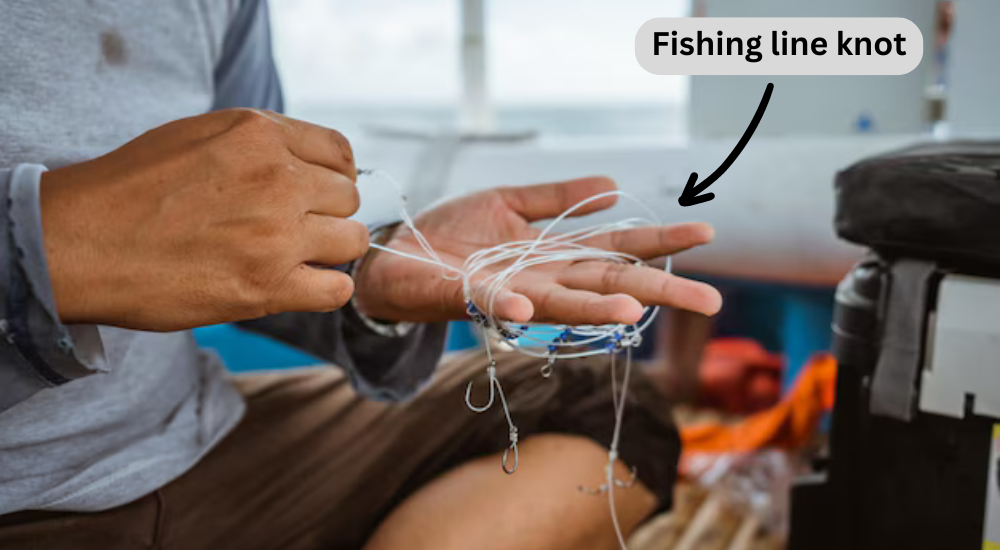
If you’ve ever lost a big fish because your line snapped, you know the importance of a good knot – especially with a braided fishing line.
The braided line is strong and smooth, but it needs specific knots to shine truly.
Don’t worry; This guide covers essential knots like the Palomar, Uni, and Double Uni, plus variations like the Improved Clinch and the Overhand knot for specific uses.
How to Tie Braided Fishing Line:
- Why it matters: The braided fishing line is strong but slippery, requiring specific knots to avoid losing fish.
- Essential tools: Sharp scissors, braided line of the right strength, and optionally a knot-tying tool.
- Basic knots: Palomar Knot (easy and strong), Improved Clinch Knot (versatile), Uni Knot (good all-around).
- Advanced knots: FG Knot (joining fluorocarbon to braid), Double Uni Knot (joining two braided lines), Albright Knot (different diameter lines), Blood Knot (similar diameter lines).
- Testing knots: Tug on them, wet them before tightening, and inspect for any flaws.
- Troubleshooting: Slipping knots likely need re-tying, line breakage may require a new line, and difficult knots need practice.
- Pro tips: Use the right knot for the job, practice often, and don’t be afraid to experiment to find your favorites.
Why Knots Matter for Braided Fishing Line
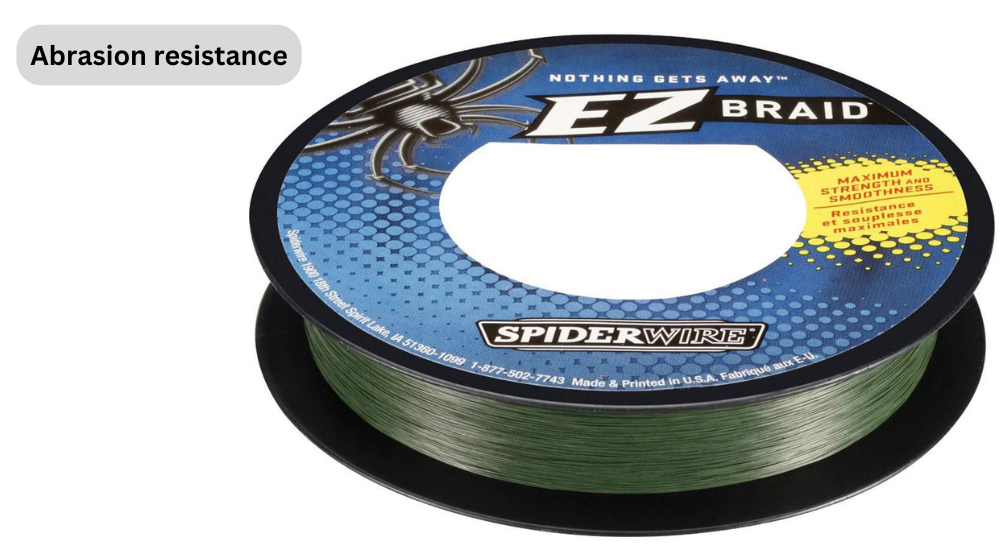
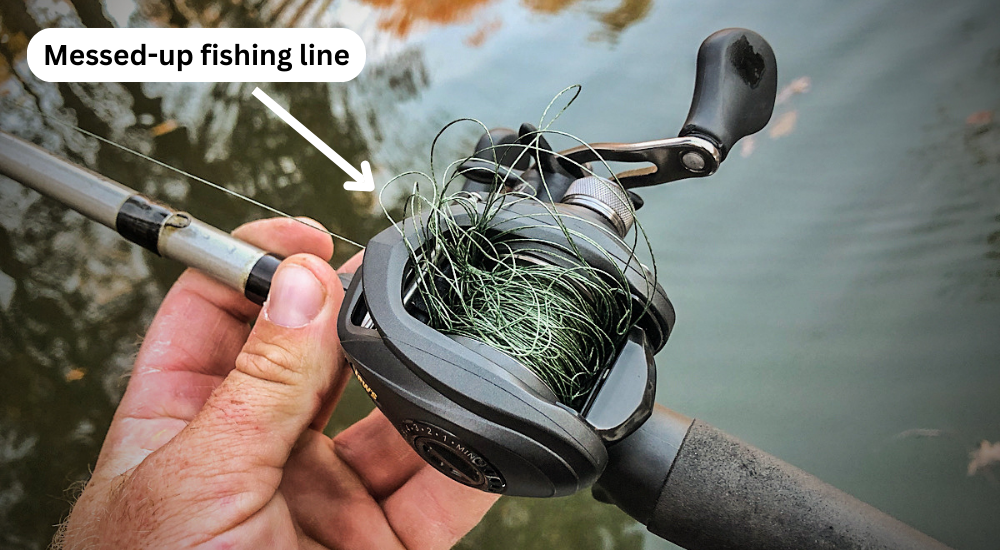
A braided fishing line is amazing stuff. It’s super strong and thin, which helps you cast farther and feel even the smallest nibbles. But it’s also really slippery. Regular knots you might use for other lines won’t cut it with a braid.
Imagine this: You’re reeling in the biggest fish of your life, and suddenly, snap! The line breaks because your knot wasn’t up to the task. Not fun, right?
The incorrect knot can lead to lost fish, wasted time, and frustration. But the right knot? That’s your ticket to a smoother cast, a stronger hold, and way more fish in the boat.
Here are some common mistakes people make with braided line knots:
- Not wetting the line: The braided line heats up when you tighten a knot, which can weaken it. A little spit or water helps a lot.
- More wraps: Slick braid needs more wraps around itself than other lines to hold tight.
- Using the wrong knot: Some knots work better for certain types of fishing. We’ll cover the best ones for different situations.
- Not cinching down tight: Don’t be afraid to pull! A loose knot is just asking for trouble.
- Not trimming the tag end: That little bit of extra line can snag and weaken the knot. Snip it close!
Different fishing situations call for other knots. While the Palomar knot is a reliable all-around choice, you should use a Double Uni knot when joining two braided lines together.
The San Diego Jam knot is great for heavier lines, and the Trilene Knot is a good option for fluorocarbon lines in inshore saltwater fishing. We’ll cover all these knots and more so you’ll know exactly what to use for any fishing adventure.
Essential Tools and Materials
Before you start tying knots, please make sure you’ve got the right tools. You don’t need much:
- Scissors: A sharp pair for clean cuts is essential.
- Braided Fishing Line: Choose the right strength for the fish you’re after.
- Optional: Knot Tying Tool: This little gadget can make it easier to get your knots super tight.
Note on Leaders:
Sometimes, you’ll want to use a leader—a piece of fluorocarbon or monofilament line—connected to your braided line. This is because fluorocarbon is nearly invisible underwater, which can help fool finicky fish. We’ll show you how to tie the leader to your braided line using special knots.
Types of Knots:
There are tons of fishing knots out there, but we’re going to focus on the ones you really need for the braided line. We’ll cover:
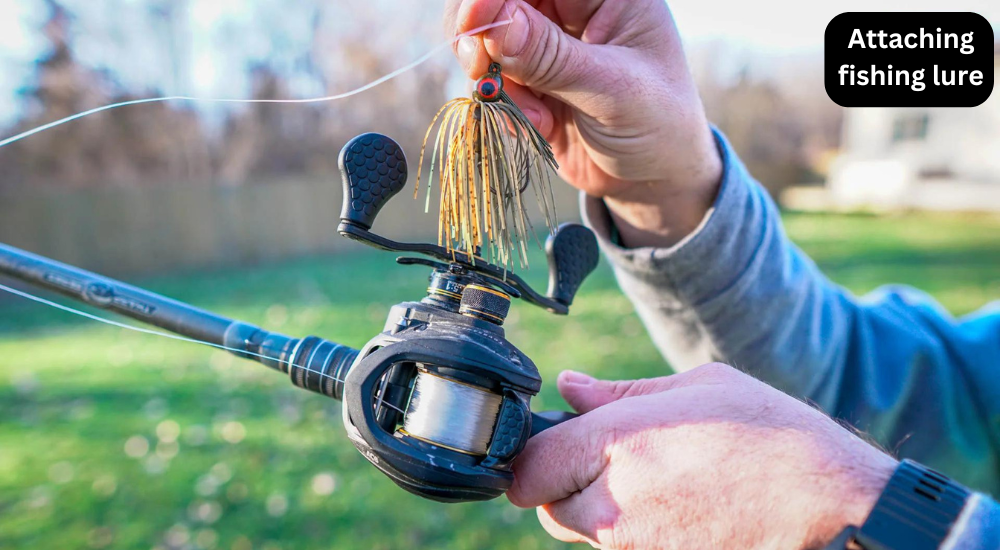
- Knots for tying a hook or lure to your braided line:
- Palomar Knot
- Improved Clinch Knot
- Uni Knot
- Knots for connecting two lines:
- FG Knot (for joining fluorocarbon leader to braided line)
- Double Uni Knot (for joining two braided lines)
- Albright Knot (for joining lines of different diameters)
- Blood Knot (for joining two lines of similar diameter, especially thin lines)
We’ll also show you some variations of these knots, like the Loose Overhand Knot and the Double Line Clinch Knot, which can be helpful in certain situations.
Remember, the best knot for the job depends on what you’re fishing for and what kind of line you’re using. Let’s get started!
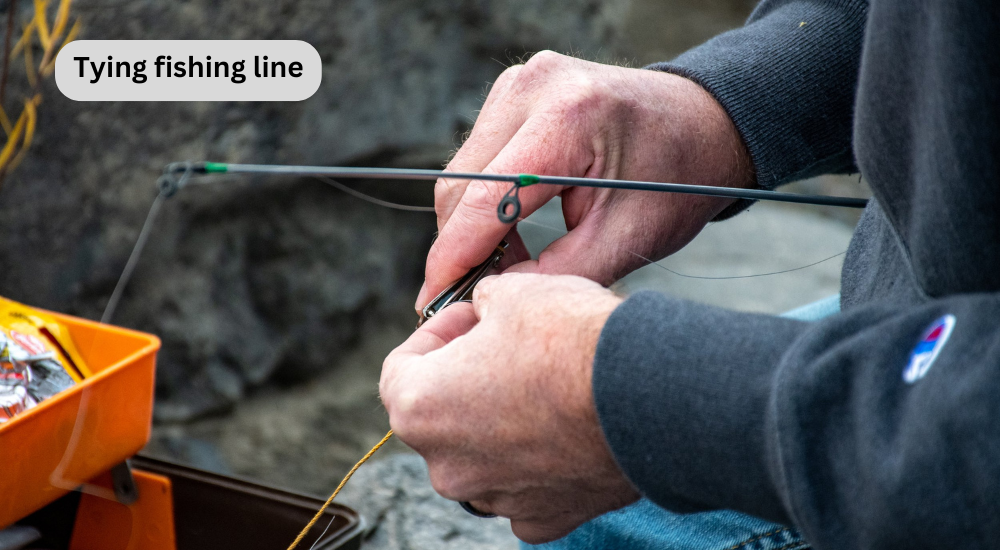
Basic Knots for Braided Fishing Line
Alright, let’s dive into the knots you’ll be using most often with braided lines. These are perfect for tying your hook, lure, or swivel directly to your line.
Palomar Knot
The Palomar knot is the king of simplicity. It’s easy to learn, super strong and works great for all kinds of fishing. Here’s how to tie it:
- Double about 6 inches of your braided line and pass the doubled end through the eye of your hook.
- Tie a simple overhand knot with the hook hanging down.
- Bring the loop of the line over the hook.
- Pull the loop down so it passes over the hook’s eye.
- Wet the knot and pull both ends of the line tight.
- Trim the tag end close to the knot.
Improved Clinch Knot
The Improved Clinch Knot is another versatile option that’s stronger than the standard Clinch Knot. Here’s how it’s done:
- Pass the end of your line through the eye of the hook and make Five- Seven turns around the standing line.
- Bring the tag end back through the first loop you created.
- Could you pass the tag end through the larger loop near the hook’s eye?
- Wet the knot and pull on both the standing line and tag end to tighten.
- Trim the tag end.
Uni Knot
The Uni Knot is another all-around winner, especially for lighter lines. It’s a bit trickier to tie than the Palomar, but it’s worth learning:
- Pass the line through the eye of the hook and double back, forming a loop.
- Make Five-Seven wraps of the tag end around the doubled line and through the loop.
- Wet the knot and pull on the main line (not the tag end) to tighten.
- Slide the knot down in the eye of the hook and trim the tag end.
Remember: Wetting your line before tightening any knot is crucial with a braided line. It helps prevent friction and heat, which can weaken the knot. Tight lines!
Advanced Knots for Specific Situations
Sometimes, you’ll want to join two lines together, like when you’re adding a fluorocarbon or monofilament leader to your braided line. Here are a couple of strong knots that work great for this:
FG Knot (Fluorocarbon to Braid)
This one’s a bit tricky at first, but it’s the best way to join fluorocarbon and braid. It creates a super smooth connection that slides through your rod guides easily. Here’s the rundown:
- Overlap the ends of your braided line and leader, leaving about 6 inches of overlap.
- Pinch the two lines together with your fingers and make 5-7 wraps of the leader around the braided line, going away from the tag end of the braid.
- Now, bring the tag end of the leader back towards the main leader line, crossing over the wraps you just made.
- Make 5-7 more wraps of the leader around the braid, this time going in the opposite direction of the first set of wraps.
- Tuck the tag end of the leader between the two lines and pull tight.
- Trim the tag ends of both lines.
It takes practice, but the FG knot is worth it! Watch a few online videos to get the hang of it.
Double Uni Knot (Braid to Braid)
Need to join two pieces of braided line together? The Double Uni knot is your friend. It’s strong and easy to tie:
- Overlap the ends of the two lines by about 6 inches.
- Take one line and make a loop, then pass the tag end through the loop 5-7 times.
- Repeat step 2 with the other line, making sure the wraps go in the opposite direction.
- Wet the knot and pull on both standing lines to tighten.
- Trim the tag ends.
Albright Knot (Different Diameter Lines)
This knot is handy when you need to join lines of different thicknesses, like when adding a much heavier shock leader.
- Make a loop with a thicker line.
- Pass the thinner line through the loop and around both strands of the thicker line.
- Continue wrapping the thinner line around itself and the thicker line for about ten turns.
- Pass the tag last of the thinner line back through the loop and pull tight.
- Trim the tag ends.
Blood Knot (Similar Diameter Lines)
This is a good option for joining two lines of similar diameter, especially thinner lines. It’s often used in freshwater fishing.
- Overlap the ends of the two lines by about 6 inches.
- Make 5-7 wraps of one line around the other.
- Bring the tag end back between the two lines.
- Repeat steps two and three with the other line, wrapping in the opposite direction.
- Wet the knot and pull on both standing lines to tighten.
- Trim the tag ends.
Remember, practice makes perfect! Try tying these knots at home before you head out fishing. And don’t be afraid to experiment to find the knots that work best for you.
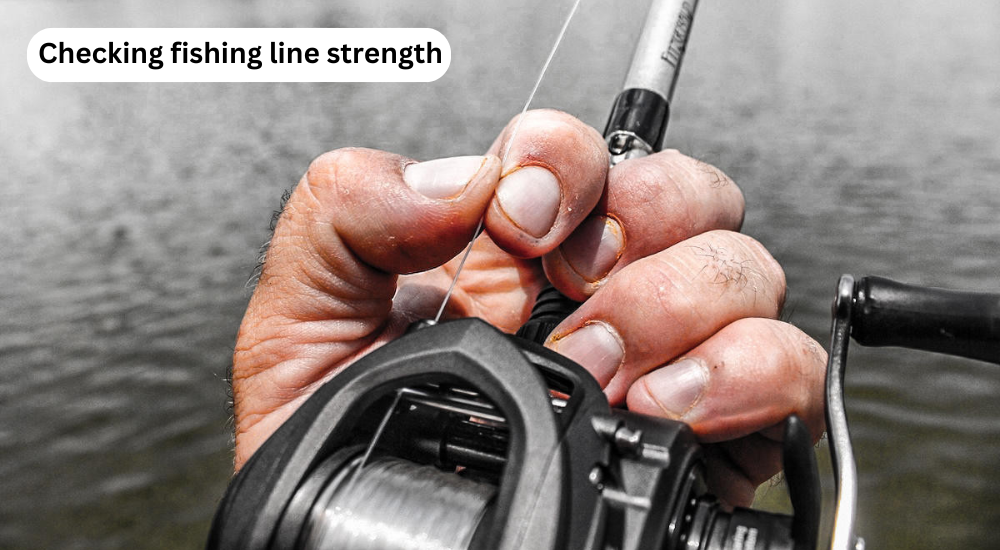
Testing and Securing Your Knots
You’ve tied your knot, but how do you know it’s going to hold? Don’t worry; testing your knots is easy. First, give your knot a good tug. Pull on both the main line and the tag end. If the knot slips or feels loose, re-tie it tighter.
Next, could you moisten the knot with a little water or saliva and then cinch it down tight?
This helps prevent the line from fraying or breaking under pressure. Now, could you take a closer look at the knot? It should be smooth and even, with no crossed lines or loops sticking out. If it looks messy, could you start over?
Finally, please give it one more tug to be sure. If the knot feels secure and looks good, you’re ready to cast!
Tips for Tying Better Knots:
- Use the right knot for the job: We’ve covered a bunch of different knots, and they all have their strengths and weaknesses. Choose the right knot for the type of fishing you’re doing and the line you’re using.
- Practice: The more you practice tying knots, the better you’ll get at it. Practice at home so you can tie them quickly and confidently when you’re out on the water.
- Use a knot-tying tool (optional): This handy little gadget can help you get your knots extra tight, especially if you have trouble gripping the line.
- Check your line often: Look for nicks, cuts, or other damage. If your line looks worn, re-tie your knot or cut off the damaged section and re-tie.
- Don’t be afraid to ask for help: If you’re having trouble tying a particular knot, ask a friend or look for videos online. There are tons of resources out there to help you become a knot-tying master.
- Inspect the eye of your hook: If your hook eye is too small and it is hard to get your line through it, then you might want to use a different knot. Sometimes, the Palomar knot can be hard to tie if the eye is too small.
Remember, a strong knot is the foundation of a successful fishing trip. Take the time to tie your knots right, and you’ll be well on your way to reeling in the big one!
Troubleshooting Common Knot Problems
Absolutely! Here’s Section 6 with the exact keywords you provided integrated naturally:
Even if you’ve tied the best knot in the world, things can still go wrong. But don’t worry; most problems with fishing knots are easy to fix.
Knot Slippage
If your knot keeps slipping, it probably wasn’t tied correctly or wasn’t cinched down tight enough. Re-tie it, making sure to wet the braided fishing lines and pull it tight.
If you’re still having trouble, try a different knot that’s known for being extra secure, like the Palomar knot or a double-line version of another knot.
Line Breakage
If your line breaks, check the knot first. Was it frayed or damaged?
If so, cut off the bad section and re-tie the fishing knot. If the knot looks fine, the problem might be with your braided fishing line. Maybe it’s old or has been weakened by the sun. Replace your line if you think it might be the culprit.
Difficulty Tying Certain Knots
Some knots, like the FG knot, are tricky to learn. Don’t get discouraged if you can’t get it right away. Watch videos, ask a friend for help, or practice at home. You’ll get the hang of it with time.
Other Knot Issues:
- Knots too bulky: Some knots can be cumbersome and get caught in your rod guides. If this happens, try a different knot that’s known for being smaller and smoother.
- Knots not strong enough: If you’re fishing for big fish or using heavier lines, you’ll need a stronger knot. Consider using two overhand knots to create a very strong knot.
- Not enough wraps: If you’re having trouble with knot slippage, try adding a few extra wraps to your knot.
Remember: There’s no one-size-fits-all answer when it about how to tie knots. The best knot for you depends on the type of fishing you’re doing, the line you’re using, and your personal preference. Experiment with different knots to find what works best for you. And don’t hesitate to ask for help if you get stuck.
Conclusion
Learning the right knots for braided fishing lines is a game-changer. A strong knot is the difference between reeling in a trophy fish and watching it swim away.
There’s no one “best knot”—it depends on your fishing type and line. The Palomar and Improved Clinch are great all-around, the FG Knot shines for fluorocarbon leaders, and the Double Uni is perfect for joining braided lines. If you’re into fly fishing, check out the Alberto knot for thinner lines.
Wetting your line before tightening and trimming tag ends makes a big difference in knot strength and prevents slippage.
Practice at home before you go fishing, and you’ll be tying like a pro in no time. The more you practice, the better you’ll get. And remember, a well-tied knot is your best fishing buddy!
Frequently Asked Questions
What is the strongest knot for the braided fishing line?
There’s no single “strongest” knot, as the best choice depends on the situation. However, for overall strength and reliability, the Palomar knot is a top contender. It’s easy to tie and holds up well under pressure. The Double Uni knot is also excellent for connecting two braided lines.
Does the direction of wraps matter when tying knots with braided lines?
Yes, it can make a difference. In some knots, like the FG Knot and Double Uni Knot, the wraps should be made in opposite directions on each line. This helps create a stronger, more secure connection that’s less likely to slip.
Why is it important to get the braided line before tightening a knot?
A braided line generates heat and friction when tightened, which can weaken the fibers. Wetting the line with water or saliva helps lubricate it, reducing friction and preventing damage. It also helps the knot cinch down more smoothly and securely.
How do I know if my knot is tied correctly?
A well-tied knot should look smooth and even, with no crossed lines or loose loops. It should also feel tight and secure when you pull on both the main line and the tag end. If your knot looks messy or feels loose, re-tie it to ensure it holds.
How much line strength do I lose with a knot?
Any knot will reduce the line’s overall breaking strength, but some knots are better than others. Well-tied knots can retain up to 90% of the line’s strength, while poorly tied knots might only retain 50% or less. It’s important to choose the right knot and tie it correctly to maximize your line’s potential.