Have you ever cruised on a calm lake or zoomed across a vast ocean?
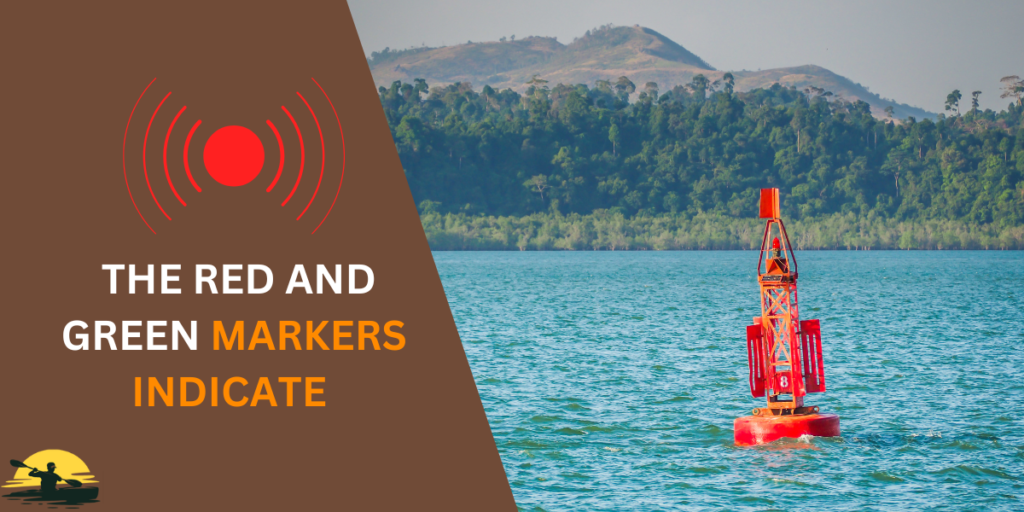
If so, you’ve probably seen those red and green markers bobbing in the water. These navigational markers, like traffic signs for boaters, are key to safe boating.
But what do the red and green colors mean?
This guide will unravel the mystery, helping you navigate waterways safely and confidently, whether you’re steering towards a green buoy or figuring out which side to keep the red markers on.
Your Guide to Red & Green Channel Markers
- Channel markers: These are like road signs for boaters, showing the safe route.
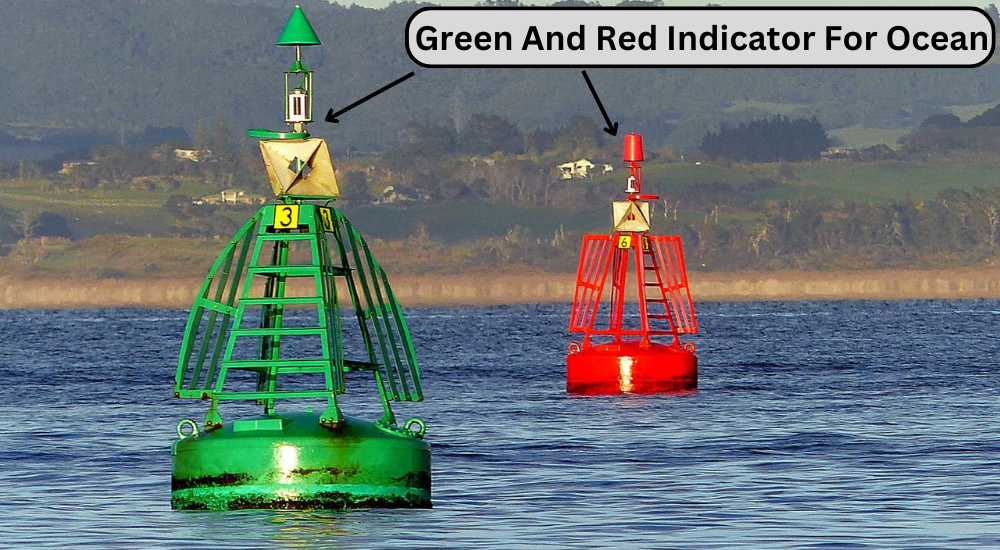
- Red and green markers (lateral markers): Show the sides of the channel.
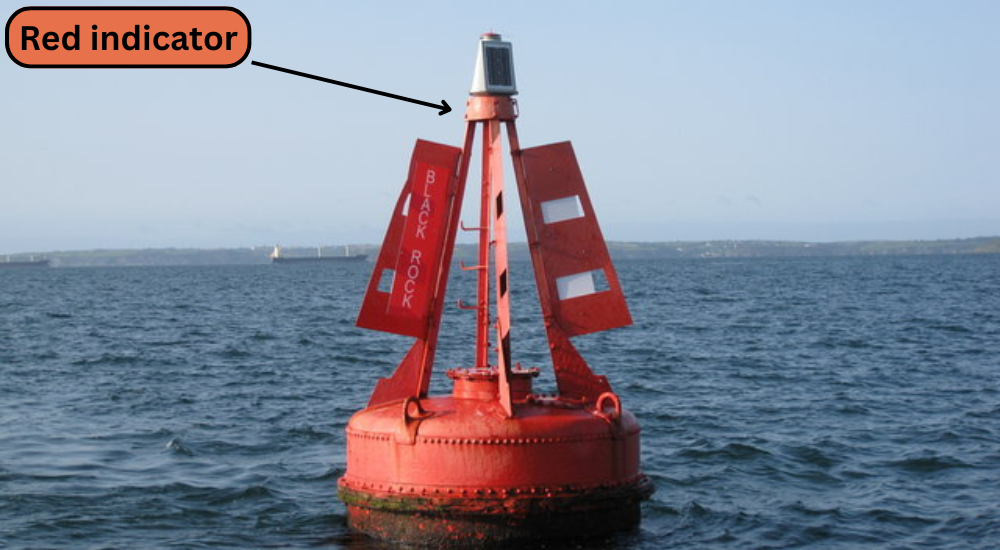
- Red: Keep on your right when returning to land and left when heading out to sea.
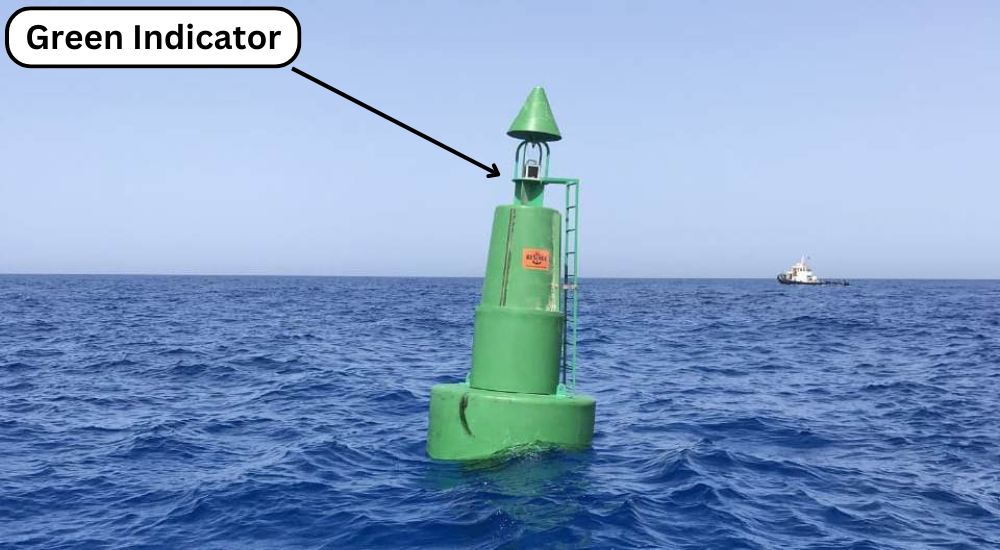
- Green: Keep on your left when returning to land and right when heading out to sea.
- Other markers:
- Red and green stripes: Mark preferred channels at junctions.
- Yellow squares: Warn of obstacles like rocks or sandbars.
- White markers: Provide information (speed limits, channel edges, etc.).
- Tips:
- Use nautical charts.
- Follow marker numbers (red = even, green = odd).
- Watch for lights at night.
- Pay attention to your surroundings.
Basics of Channel Markers
Alright, let’s break down the basics of channel markers clearly:
- Channel markers are like road signs for boats: They showboat operators the safe and preferred channel.
- Most common types:
- Lateral markers: These are red and green and show you the sides of the channel.
- Red markers: Have red lights or triangles and even numbers.
- Green buoys: Have green lights or squares and odd numbers.
- Preferred channel markers: These have horizontal bands of red and green and show the preferred direction at a fork in the channel.
- Lateral markers: These are red and green and show you the sides of the channel.
- Other markers: Some markers have unique shapes and colors to give you special information.
- Example: Yellow triangles in the Florida Keys indicate a rock or obstruction.
- All markers work together: They create a system of navigational aids that keep boaters safe and on course.
Lateral Markers Explained
Alright, let’s break down those red and green lateral markers:
Red Markers:
- When Returning (heading towards land): Keep red markers on your right side. This is where the phrase “red right returning” comes in handy.
- When Leaving (heading out to sea): Keep red markers on your left side.
- Numbering: Red buoys usually have even numbers.
Green Markers:
- When Returning: Keep green markers on your left side.
- When Leaving: Keep green markers on your right side.
- Numbering: Green buoys usually have odd numbers.
Why is this important?
- Staying Safe: Keeps you in the primary channel, which is usually the deepest and safest route.
- Avoiding Collisions: Helps prevent head-on crashes with boats going in the opposite direction.
Remember:
- Look for Numbers: If you’re unsure, the even/odd numbering on the buoys can help.
- These Rules Apply Everywhere, Whether you’re on a small lake or a vast waterway.
- Stay Alert: Pay attention to the colors and numbers on markers to navigate safely around obstacles and other boats.
Navigating with Lateral Markers
Now that you know what red and green markers mean, let’s discuss how to use them to navigate.
Think of it like following road signs on a trip.
Entering a Channel
- From Open Water: When you’re coming in from the ocean or a lake, look for the channel markers. Remember, red markers should be on your right side (red right returning). This means you’ll pass between a red marker and a green marker as you enter the channel.
- From a Smaller Waterway: If you’re coming from a smaller river or creek, look for the main channel markers. These often have red and green horizontal stripes, and the top color tells you which side to enter from. For example, if the top stripe is red, enter with the red marker on your right.
Cruising Through the Channel
- Staying on Track: Keep those markers in sight! Stay between the red and green markers to stay in the deepest part of the channel, which is usually the safest. It’s like staying between the lines on the road.
- passing other boats: Just like on the highway, there are rules for passing other boats. When you see another boat coming towards you, both boats should keep to their right, just like cars passing on the road.
Leaving the Channel
- Heading Back to Open Water: As you leave the channel, the rules reverse. Keep the red markers on your left side as you head out to sea.
- Entering a Harbor or Marina: Things can get a little trickier in crowded areas like harbors and marinas. Pay close attention to all the markers, including any special markers that might indicate speed limits or other rules.
Bonus Tip: If you’re navigating a long stretch of water, like the Intracoastal Waterway, look for the numbers on the markers. They increase as you travel, so you’ll know if you’re heading in the right direction.
Remember, channel markers are your friends! They help you avoid obstacles like sandbars and shallow water. So, keep an eye on them, follow the rules, and enjoy your time on the water!
Beyond Red and Green: Other Channel Markers
Okay, now that we’ve got red and green down, let’s talk about some other markers you might see out there.
It’s like learning about the different signs on the road—stop signs, yield signs, etc.- all of which have a specific job to do.
Junction Markers
- What they look like: These markers are striped with red and green, but they have a unique pattern where one color is on top of the other.
- What they mean: Think of these like intersections. They tell you where two channels meet or where you can choose which way to go. The color on top tells you the preferred channel to take. For example, if the top color is red, it means the preferred channel is to the right (remember, red right returning).
Information Markers
- What they look like: These come in all sorts of shapes and sizes, but they usually have numbers, symbols, or letters on them.
- What they mean: These guys give you extra information about the waterway. They might tell you the speed limit, warn you about a hazard ahead, or even point out a cool spot to fish. It’s like having a handy guidebook right there on the water!
Obstruction Markers
- What they look like: These are typically white with orange markings and might have stripes or diamonds on them.
- What they mean: These are warning signs for boaters. They let you know that there’s an obstruction ahead, like a rock, a sandbar, or something else lurking beneath the surface. It’s like a big “watch out!” sign for your boat.
By learning to recognize these different markers, you’ll be able to navigate even the trickiest waterways with confidence.
Remember, each marker has a special message for you, so keep your eyes peeled and stay safe!
Tips for Reading Channel Markers

Alright, now that you’re a pro at identifying different markers, let’s go over some tips for actually reading them out on the water.
Think of it like reading a map on a road trip. It takes practice, but it’s super helpful!
- Use Charts: These are like maps for the water. They show you the channels, markers, and any potential hazards like shallow areas or rocks. Think of the markers as points on your map, helping you follow the route.
- Check the Numbers: Remember, red markers usually have even numbers, and green markers have odd numbers. These numbers increase as you travel in a specific direction. So, if you’re following a channel and the numbers are going up, you know you’re on the right track.
- Watch for the Light: Many buoys and beacons have lights on them, especially for nighttime navigation. Red markers usually have red lights, and green markers have green lights. This makes them easier to spot when it’s dark.
- Look Around You: Don’t just rely on the markers. Look at the shoreline, other boats, and any landmarks you can see. This can help you get a better sense of where you are and where you’re going.
- Ask for Help: If you need clarification or clarification about what a marker means, feel free to ask for help. You can usually contact the Coast Guard or a local marina on your radio for help. It’s always better to be safe than sorry!
Bonus Tip: Here’s a handy trick for remembering which side is which. Hold your hands out in front of you like you’re steering a boat. Your right hand is your “starboard” side (where you want to see red markers when returning), and your left hand is your “port” side (where you want to see green markers when returning).
Remember, practice makes perfect.
The more you use these markers, the easier it will become to navigate safely and confidently. So get out there, explore the waterways, and enjoy the adventure!
Conclusion
There you have it! You’re now well on your way to becoming a channel marker expert.
Remember, these red, green, and other colored markers are like the traffic signals of the waterways, guiding you to your destination.
They help you stay safe by showing you the deep water, warning you about obstacles, and keeping you clear of oncoming boats.
It may seem like a lot to learn at first, but with practice, you’ll be reading these markers like a pro. So, grab a chart, keep those tips in mind, and get out there! Happy boating!
Frequently Asked Questions
What if I see a marker with both red and green horizontal stripes?
These are preferred red channel markers. They mark where two channels meet, and the top color tells you which way to go. If red is on top, the preferred channel is to starboard (right). If green is on top, the preferred channel is to port (left).
What if I accidentally pass a marker on the wrong side?
Don’t panic—it happens to the best of us. Just carefully correct your course as soon as you can safely, checking for oncoming traffic. Boat operator is very important.
Do the same rules apply at night?
Absolutely! Most markers have lights – red for red markers and green for green markers. So, the same “red right returning” rule applies even after the sun goes down. Navigational aid is good.
What if I see a marker that isn’t red or green?
Markers come in other colors and shapes, too! Yellow squares usually mark obstructions like rocks or sandbars, while white markers often provide information like speed limits. It’s always a good idea to check your nautical chart to understand the meaning of different markers.
Are channel markers the only thing I need to navigate safely?
While markers are essential, they’re not the only tool in your navigation toolbox. Always use a nautical chart, pay attention to your surroundings, and be mindful of other boaters.